It always amazes me that despite being the world’s largest video library, YouTube is still blocked or banned in many educational institutions. As a resource for learning about almost anything, but particularly for language learning it is an incredibly valuable tool and a tool that many third-party companies have started to build on and exploit to make its use easier and more engaging.
Below are just a few of the many tools that can help educators exploit the learning potential of YouTube with a particular focus on English language learning. I hope you can enjoy these tools and if you do work in an institution where YouTube is still blocked, perhaps you can use this article to help persuade the people responsible that the benefits of making the resource available far outweigh the manageable risks that it can create.
1. VoiceTube – https://www.voicetube.com/
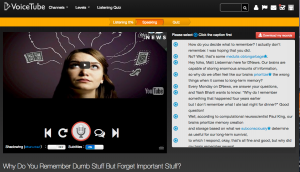 This is a self study tool for students that allows them to listen and study each individual sentence within a video. There are a number of study support features. The students can take and save notes about the vocabulary within the script. They can also listen and record themselves saying sentences from the script, then compare to the original.
The LMS within the site tracks their activity and can show them which and how many videos they have watched and show their notes and history of translated words in their word bank. Some of the videos also have quizzes, but these only work in the Chrome browser. There is also a free mobile app which is available for both Android and iOS, so students could work with this whenever they have a free moment.
2. YouGlish – http://youglish.com/
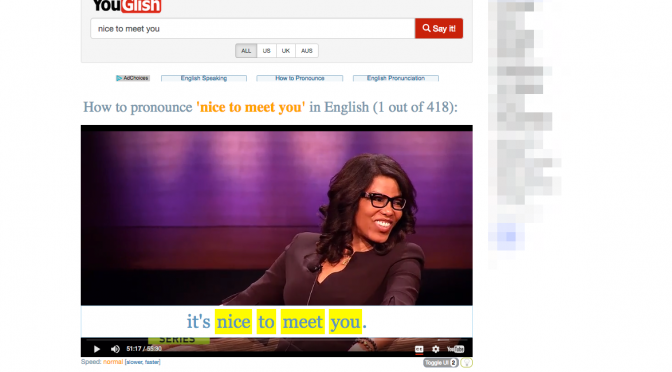
 This is a great tool for developing pronunciation. Just search for any word or phrase and YouGlish will find an example in a YouTube video and take you directly to the part of the video where the phrase appears. You can then listen to the phrase in context and see the sentence that it appears in.
You can also save the phrase and clip if you register on the site, and you can also grab a link to it or share it through social media.
3. TubeQuizard – http://tubequizard.com/
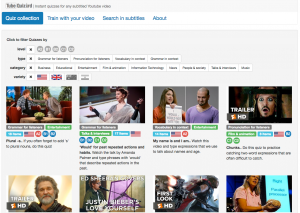 This is a great self-study tool. Students can select level, the area they want to study, the type of film and even the accent they want to learn. TubeQuizard will generate activities for them based around the subtitles. They can then listen, fill in gaps and check their answers. There is also a search engine so that you can type in a specific phrase and find a video that contains that text.
You can also create your own video quizzes. You can either search for a video using the search tool on the site or copy and paste in the URL of the video you want to use. The only limitation here is that the video must have subtitles available.
4. CaptionGenerator – http://www.captiongenerator.com/
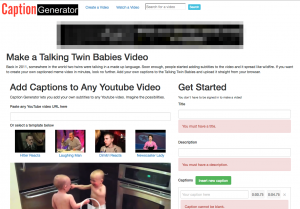 This is a really useful tool for exploiting clips that have no audible dialogue. Students can add captions to the clips and make up their own dialogue. This is really easy to do, they just add the URL to the video clip and then type in the captions, and a great way to get students thinking about the link between language and context. You can find a selection of suitable videos here: Silent Videos
5. WatchKIN – https://watchkin.com/
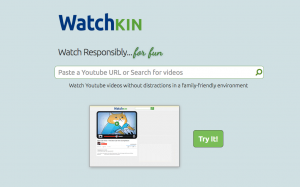 This is a tool for removing advertising and distractions from around the YouTube clip. This is particularly useful if you are showing a clip in the classroom and you don’t want students to see some of the surrounding clips. Just paste in the link to the video you want to show and WatchKIN will produce a framed version of the clip. You can then generate a unique URL to the framed version and use that either in the classroom or when you link to videos in online or digital materials.
6. reEmbed – https://www.reembed.com/
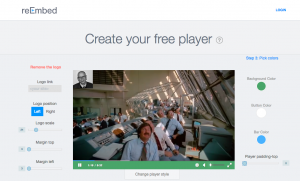 This tool takes the concept of WatchKIN a step further and allows you to create your own customised video player with your own logo, colouring and choice of controls. This is useful if you are building video clips into an online course and you want them to look consistent and professional throughout the course. Once you have created your player you can then just use it to generate an embed code for each of the videos in your course.
7. PeggoTV – http://peggo.tv/
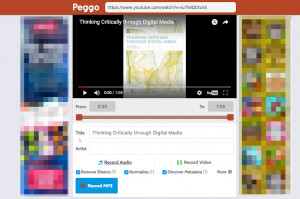 This is a great tool if you want to download and edit a clip from YouTube. It gives you a number of options including trimming the video so you only see a selected part of the clip, removing the audio so the video is silent, removing the visual part so you have only the soundtrack or just downloading the entire clip to your hard drive (This can be reassuring if you are working in the classroom with an unreliable connection). Being able to create these different versions of the clip allows you a lot more flexibility with how you work with the clip in the classroom or how you create online tasks around the clip. See my manual – Digital Video – for suggestions.
8. YouTube Kids – https://kids.youtube.com/
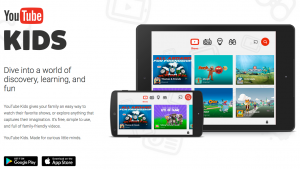 This is a great free app if you work on mobile devices with younger learners. It allows you to give your students free range to search through YouTube clips with the confidence to know that they won’t find anything inappropriate. There is also a parental guide to help you use the app and ensure your student’s safety.
I hope you find these tools useful. There are lots more as well as lots of video based activities, lesson plans and video tutorials in my award-winning ebook
